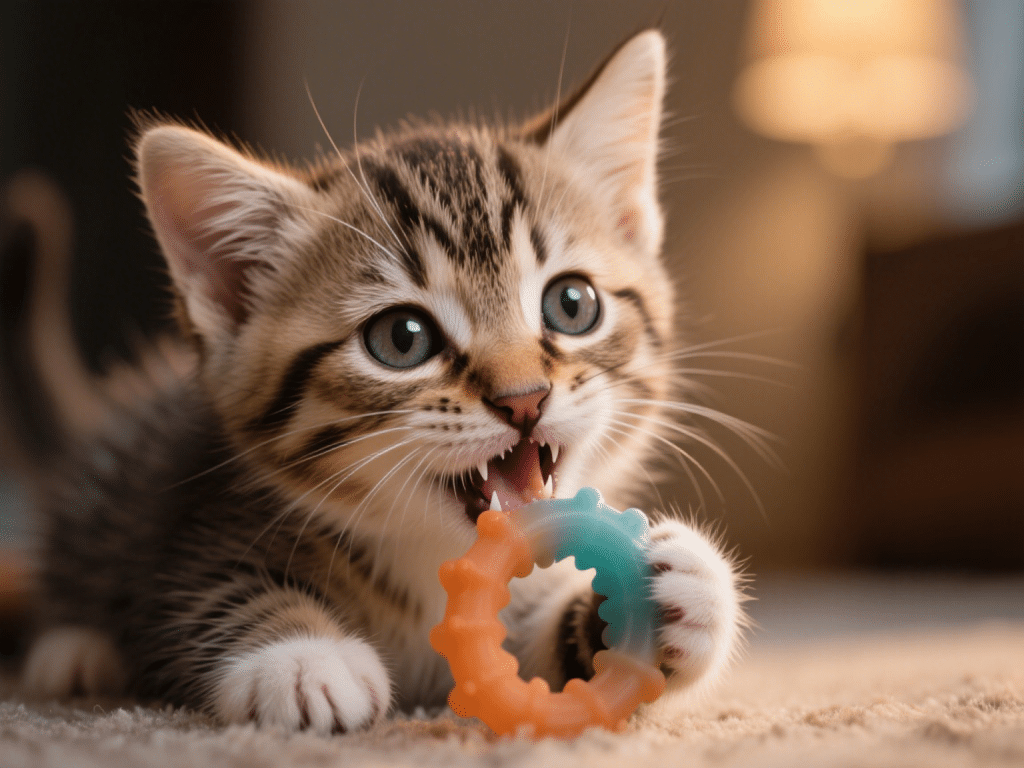
Managing Kitten Teething: Proven Tips to Ease Those Sore Gums
As a longtime feline veterinary nurse and kitten‑care educator, I’ve supported hundred...
Building a custom pet bed is a rewarding project that ensures your cat or dog has a cozy, personalized sleeping area. Whether you’re a novice DIYer or seasoned crafter, these pet bed designs combine comfort, style, and functionality. This guide explores five creative DIY pet bed projects suitable for various skill levels and materials.
Four to six yards of soft fleece fabric in coordinating colors
Scissors
Choose Fabric: Select two fleece patterns that complement your home décor.
Cut Strips: Cut two 24”×24” squares; then cut 1” wide strips from each edge, creating 4–5” fringe.
Tie Knots: Place squares face-to-face; tie matching top and bottom fringe pieces together around the perimeter.
Flip and Fluff: Turn mat right-side out; fluff the fringe for a plush, no-sew bed that cats adore.
One repurposed wood pallet (standard size)
Sandpaper or orbital sander
Non-toxic wood stain or paint
Four adjustable furniture legs or sturdy casters
Foam cushion or dog bed insert
Prepare Pallet: Sand the pallet thoroughly to remove splinters and old paint.
Apply Finish: Stain or paint the pallet using pet-safe products; allow 24 hours to dry.
Attach Legs: Securely screw furniture legs or casters to the pallet’s corners for elevation and airflow.
Add Cushion: Place a foam cushion or memory foam dog bed inside the pallet frame; cover with washable fabric.
An old wooden drawer (from discarded furniture)
Scrap fabric or old cushion
Paint or chalk paint (optional)
Sandpaper
Clean and Sand: Remove hardware, sand surfaces to prep for painting.
Paint or Stain: Apply chalk paint for a vintage look, or stain to maintain a natural wood finish.
Line with Cushion: Cut a piece of foam or repurpose an old cushion to fit inside; cover with fabric, securing edges with stapler.
Add Handles: Keep original drawer handles for a charming finish; place on the floor or a low shelf.
Assorted cotton fabric scraps
Quilting batting
Sewing machine or hand-sewing supplies
Non-slip fabric for backing
Design Patchwork: Cut fabric scraps into 6” squares; arrange into a pleasing pattern.
Layer Materials: Place backing fabric face-down, add batting, then patchwork top.
Quilt Stitch: Sew through all layers in straight lines or decorative patterns to secure layers.
Bind Edges: Use bias tape to finish edges; flip right-side out and topstitch for durability.
Eight 90-degree PVC elbow connectors
Sixteen segments of 1” PVC pipe (length determined by desired bed size)
Elevated fabric mesh (breathable, durable)
Bungee cords or zip ties
Assemble Frame: Connect PVC pipes and elbows to form a rectangular frame raised off the ground.
Attach Mesh: Cut mesh to fit frame; secure edges with bungee cords or zip ties.
Secure Corners: Double-check all connections to ensure a sturdy structure.
Add Pillow: Place a removable, washable pillow or cushion on the mesh for extra comfort.
Washable Covers: Use removable, machine-washable fabrics to maintain hygiene.
Non-Toxic Finishes: Always choose pet-safe paints, stains, and sealants.
Seasonal Variations: Offer cooling mats in summer or fleece liners in winter to regulate temperature.
Personalized Embellishments: Add your pet’s name with stencils or embroidery for a special touch.
DIY pet bed projects allow you to tailor comfort and style to your cat or dog’s needs while unleashing your creativity. From simple no-sew mats to more intricate wooden frames, these designs ensure your furry friend sleeps in comfort and you enjoy a satisfying crafting experience. Gather materials, measure carefully, and have fun building a cozy retreat for your pet.

As a longtime feline veterinary nurse and kitten‑care educator, I’ve supported hundred...

There’s nothing quite as heart‑melting as watching a tiny ball of fur explode into a w...

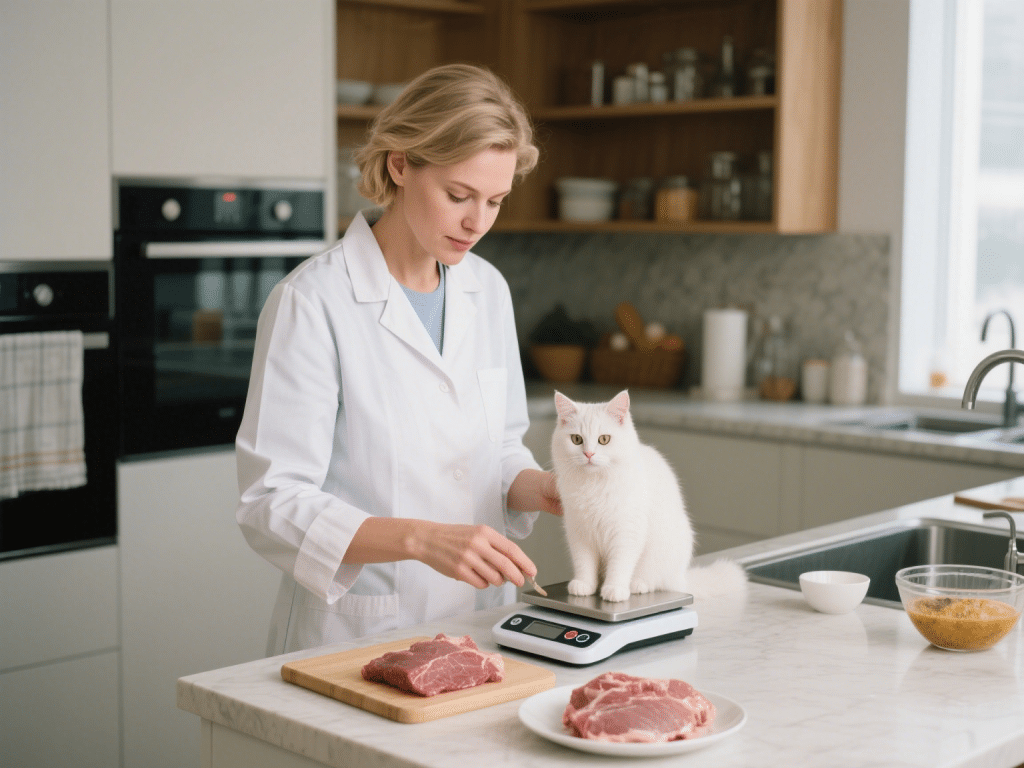
As a veterinary nutritionist specializing in feline diets, I’ve guided many cat guardian...

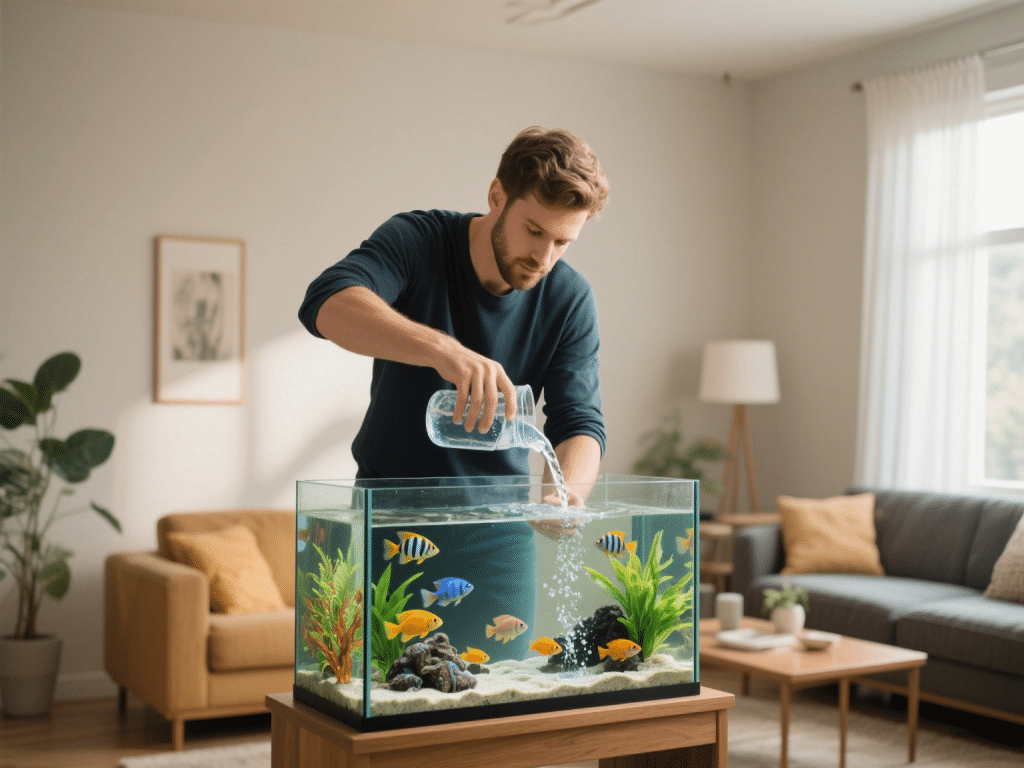
IntroductionProper maintenance is vital for a healthy aquarium. Beginners often underestim...

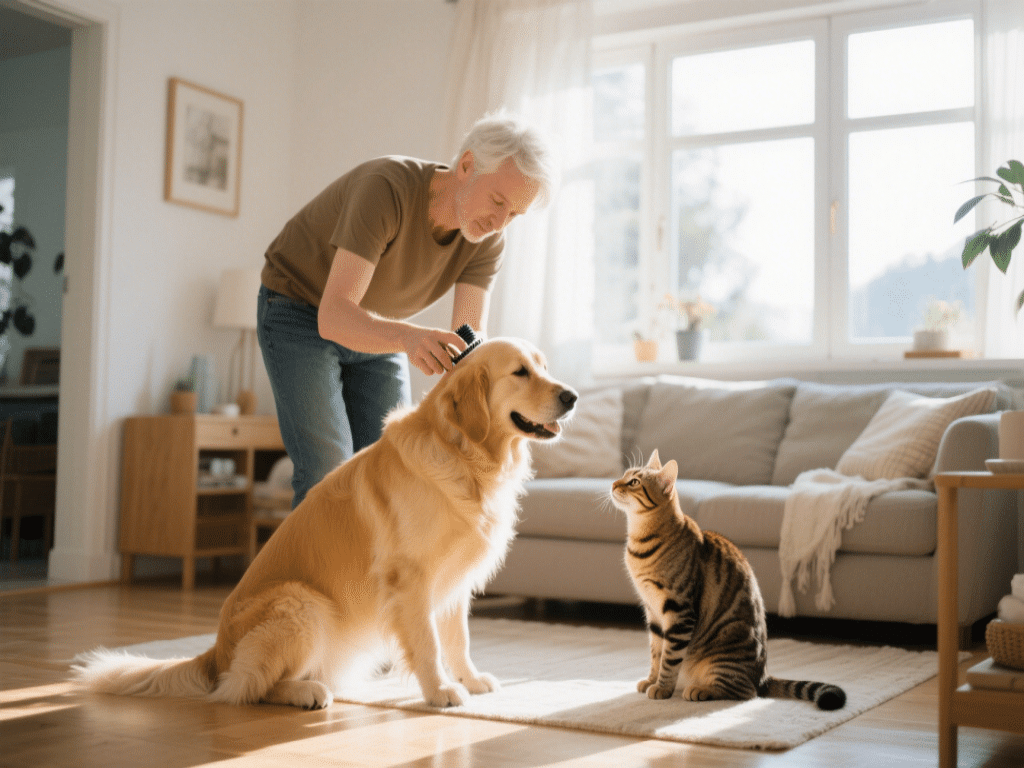
IntroductionGrooming your cat and dog at home can be both rewarding and budget-friendly. R...

IntroductionGood dental health is crucial for your cat’s overall well-being. Just like h...
Comments on "DIY Pet Bed Projects: Comfortable Options for Cats and Dogs" :