
Pet Information
Understanding Your Cat’s Sleeping Positions: What Each Pose Reveals
Cats famously sleep 12–16 hours a day in poses ranging from the classic “loaf” to ...

Introduction
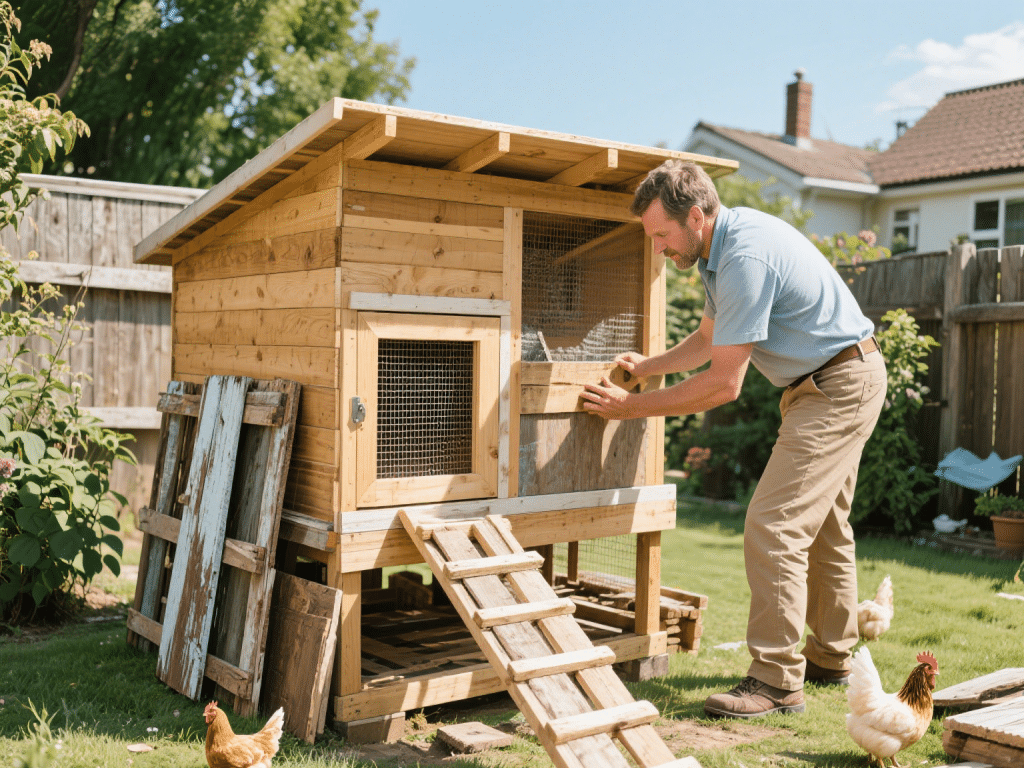
Raising backyard chickens provides fresh eggs, pest control, and companionship. Building an affordable DIY chicken coop saves money and allows customization. Follow these budget-friendly steps using accessible materials and simple tools.
1. Planning & Design Considerations
Determine Flock Size: Allocate at least 4 sq ft of indoor space per chicken; for 4–6 hens, plan a coop measuring 8×8 feet.
Local Regulations: Check city ordinances and HOA rules regarding coop size, placement, and noise restrictions.
Predator Protection: Use sturdy materials and ½-inch hardware cloth (not chicken wire) to deter raccoons, raccoons, foxes, and dogs.
2. Materials & Tools List
Primary Materials:
Pressure-treated 2×4 lumber for framing
½-inch plywood sheets for siding and roof decking
Corrugated metal panels or asphalt shingles for roofing
½-inch hardware cloth for run enclosure and ventilation
Concrete blocks or gravel for foundation to prevent rot and burrowing predators
Fasteners & Hardware: Galvanized screws, nails, hinges, latches, metal brackets, and weatherproof sealant
Tools: Circular saw, drill, hammer, tape measure, level, speed square, and staple gun
3. Foundation & Flooring
Step 1: Site Selection & Preparation
Choose a level, well-drained area with morning sun and afternoon shade.
Clear debris and mark coop corners using stakes and string.
Step 2: Foundation Installation
Place concrete blocks at each corner and midpoints to raise the coop off the ground, preventing rot and deterring burrowing.
Spread a gravel base between blocks to promote drainage.
Step 3: Floor Framing
Construct a floor frame using pressure-treated 2×4 joists spaced 16 inches on center. Secure to blocks with metal brackets.
Attach ½-inch plywood flooring to joists; seal edges with exterior caulk to prevent moisture infiltration.
4. Framing Walls & Roof
Step 1: Wall Frames
Cut 2×4 studs to desired wall height (e.g., 6 feet front, 5 feet back for sloped roof).
Assemble front, back, and side wall frames with openings for doors and windows.
Erect frames and secure to floor using angle brackets; check for level and square alignment.
Step 2: Roof Rafters & Sheathing
Install rafters (2×4) spanning front to back with at least a 12-inch overhang for weather protection.
Attach ½-inch plywood sheathing to rafters; seal seams with waterproof tape.
Step 3: Roofing Material
Secure corrugated metal panels or asphalt shingles to sheathing, ensuring proper overlap to prevent leaks.
5. Siding & Ventilation
Siding Installation: Attach ½-inch plywood siding to exterior wall frames; seal seams with exterior-grade caulk.
Ventilation: Cut vent openings near the ridge on both sides; cover with hardware cloth to allow airflow while keeping predators out.
6. Nesting Boxes & Roosts
Nesting Box Construction: Build 12×12×12-inch boxes attached to the coop’s exterior with hinged tops for easy egg collection.
Roosting Bars: Install 2×4 or wooden dowel roosts 12 inches off the floor and 18 inches apart; place roosts higher than nesting boxes to encourage nighttime use.
7. Chicken Run & Security
Run Frame: Erect posts sunk 6–8 inches into the ground at corners and midpoints to secure hardware cloth against digging predators.
Hardware Cloth Enclosure: Attach ½-inch mesh around run frame, burying a 6–8-inch skirt underground.
Access Door: Build a hinged door with a secure latch; reinforce edges with metal flashing to prevent pecking or scratching.
8. Finishing Touches
Paint & Seal: Apply non-toxic, exterior-grade paint or stain to protect wood. Avoid lead-based products.
Install Accessories: Add feeders, waterers, and grit stations. Position feeders off the ground to reduce contamination.
Predator-Proofing: Use locks and carabiners on doors and nest box lids; consider a motion-activated light or sensor for added security.
9. Budget-Saving Tips
Reclaimed Materials: Source reclaimed lumber from construction sites or Habitat for Humanity ReStores for discount pricing.
DIY Hardware Cloth Frames: Build wooden frames to hold hardware cloth securely, saving on pre-fabricated panels.
Community Giveaways: Check local classifieds, community boards, and neighbors for leftover building materials.
Conclusion
Building a budget-friendly DIY outdoor chicken coop involves careful planning, sturdy materials, and thoughtful predator-proofing. By selecting the right site, creating a solid foundation, and using reclaimed materials where possible, you’ll create a safe, comfortable home for your flock. Regular maintenance and routine inspections ensure longevity and a happy, healthy coop.
Cats famously sleep 12–16 hours a day in poses ranging from the classic “loaf” to ...

When I first brought home my handful of furballs, litter training seemed daunting—but wi...

In my 15 years as an avian behavior consultant, I’ve discovered that parakeets communica...

Weaning is a critical developmental phase for kittens, typically occurring between four an...
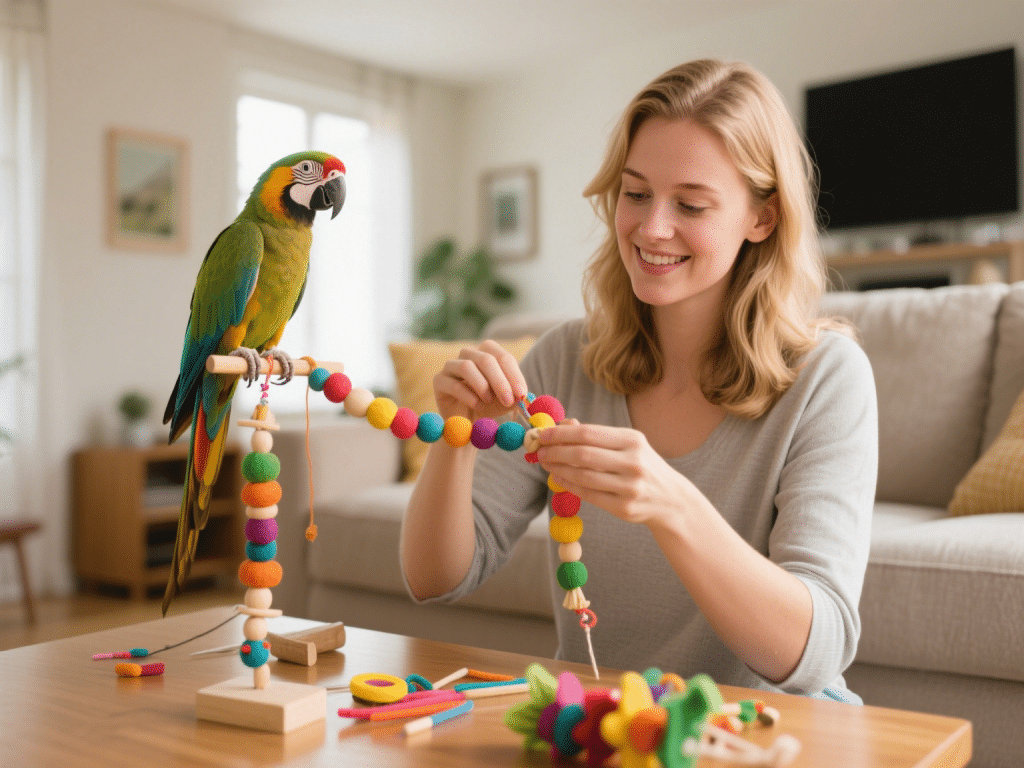
IntroductionParrots are intelligent, social birds requiring mental and physical stimulatio...

Grooming Tips for Dogs with Long Fur: Keep Their Coat ShinyA lustrous, shiny coat is the h...
Comments on "Building a DIY Outdoor Chicken Coop: Budget-Friendly Steps" :