Kitten Countdown: Essential Growth Milestones Every Cat Parent Needs to Track
Welcoming a new kitten into your home is a magical journey filled with tiny toes, wobbly f...
Persistent litter box problems frustrate 1 in 3 cat owners according to veterinary studies. Mastering these evidence-based techniques transforms messy situations into odor-free harmony.
Location dictates success:
Avoid high-traffic zones (laundry rooms = noise terror)
Multi-cat homes need N+1 boxes (3 cats = 4 boxes minimum)
Elderly cats require ground-floor access with low-entry boxes
Pro Tip: Place boxes away from food/water bowls - cats instinctively avoid contamination
Not all litters perform equally:
| Litter Type | Best For | Avoid If |
|---|---|---|
| Clumping Clay | Odor control, easy scooping | Dust-sensitive cats/respiratory issues |
| Silica Crystals | Long-lasting absorption | Cats dislike texture, budget-conscious |
| Plant-Based | Eco-friendly, low tracking | Frequent changing needed, moisture issues |
Transition slowly: Mix 25% new litter with 75% old over 7 days to prevent rejection.
Veterinarian-approved routine:
Daily: Scoop waste 2x (morning/evening)
Weekly: Replace litter entirely + scrub with enzyme-based cleaner (not bleach!)
Monthly: Replace old boxes - plastic absorbs odors undetectable to humans
Quarterly: Evaluate box size - should be 1.5x cat’s length
Critical mistake: Covered boxes trap ammonia odors causing aversion. Use uncovered with high-sided design.
When accidents signal medical emergencies:
Urinating outside box → Possible UTI/crystals (rush to vet!)
Straining with no output → Life-threatening blockage
Sudden aversion → Arthritis pain (provide low-entry options)
Behavioral fixes:
For anxiety: Add Feliway diffuser near boxes
For substrate dislike: Offer litter buffet (3 boxes with different types)
For territorial stress: Place boxes in separate zones
Litter Mat Hack: Use rubber-backed carpet samples ($1/sq ft) instead of pricey mats
Odor Neutralizer: Baking soda + diatomaceous earth mixture under litter
DIY Box: Convert plastic storage tubs (cut entry) for jumbo affordable options
Scoop Technique: Angle tool against walls to prevent scraping residue
“80% of ‘litter box problems’ resolve when owners implement proper sizing, placement, and cleaning frequency,” notes Dr. Sarah Ellis, Feline Behavior Specialist.
Final Checklist
1 box per cat + 1 extra
Uncovered, oversized boxes
Unscented clumping litter
Daily scooping + enzyme cleaning
Annual vet checkups
Commit to this protocol for 30 days. You’ll witness dramatic reductions in odors, tracking, and stress - for both you and your feline companion. Share your success story in the comments!

Welcoming a new kitten into your home is a magical journey filled with tiny toes, wobbly f...

Gastrointestinal (GI) stasis is one of the most common—and dangerous—conditions affect...

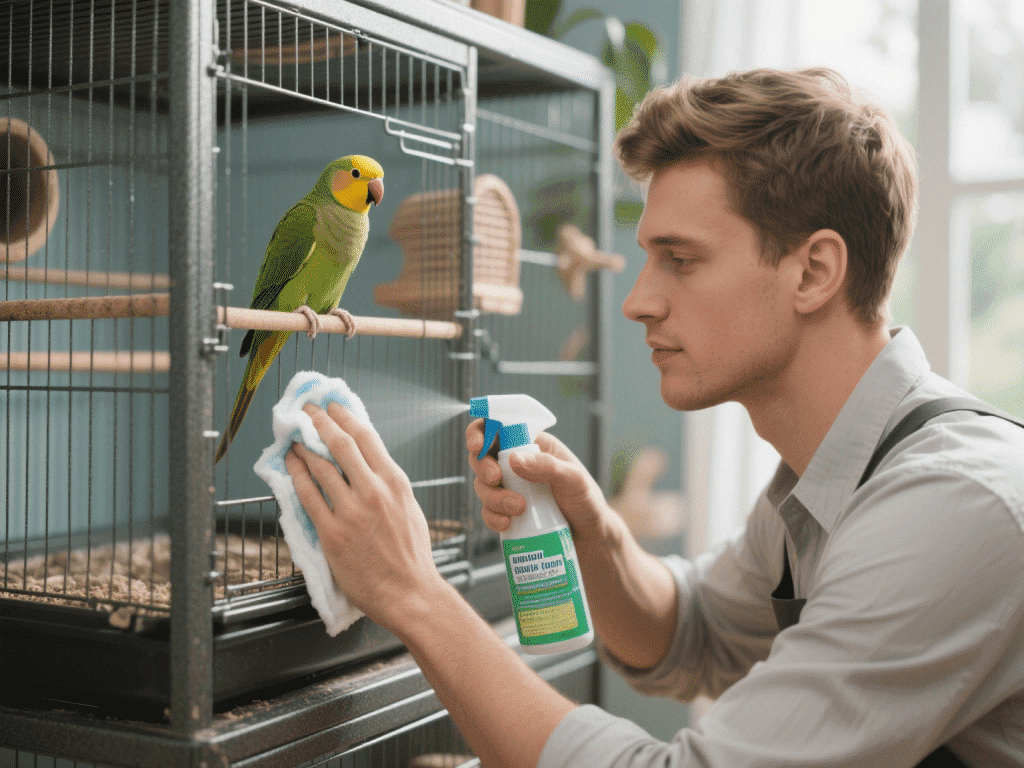
Cleanliness in a parakeet’s environment directly impacts respiratory function and feathe...

With years of rabbit rescue volunteering under my belt, I’ve seen firsthand how a lack o...

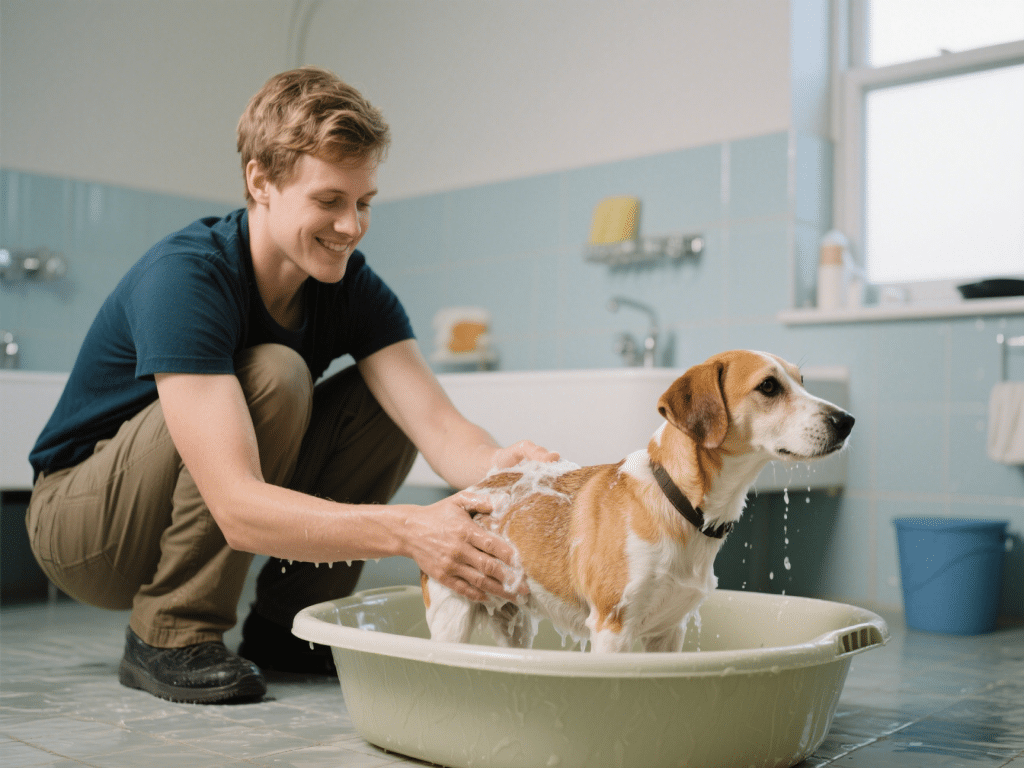
IntroductionBath time can be a daunting experience for dogs with water aversion. Whether d...

IntroductionDogs cannot verbalize discomfort, so they often mask pain to appear functional...
Comments on "How to Handle Your Cat’s Litter Box Issues Like a Pro" :